WOW! How to Make Your Own Blue and White Chinoiserie Lamp!

I really think you all might lose your minds over my latest discovery. Or at least, I did. But wait, wait, let me backtrack…
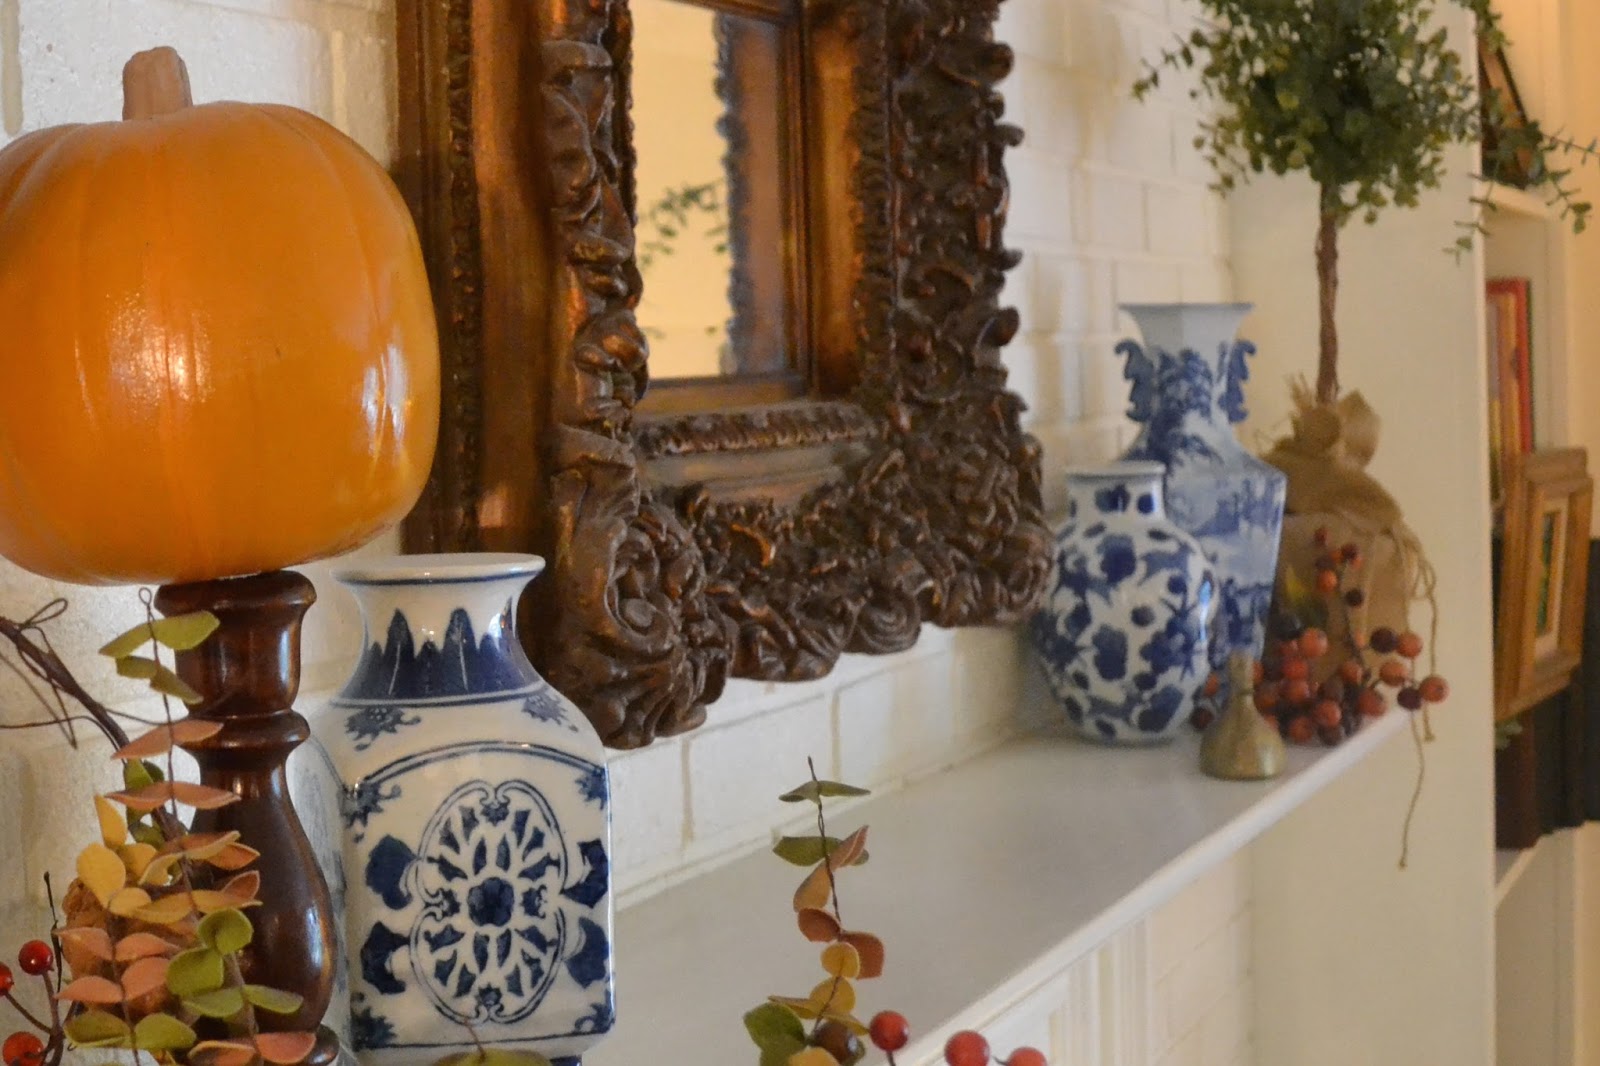
As I’ve mentioned before, I (along with everyone else in the design world, it seems!) am in LOVE with the blue and white thing happening. I’ve been slowly collecting vases and plates and platters of all kinds, mostly from antique shops, Goodwill (if I’m lucky), and some online auction sites like Everything But the House. My hunting has taught me that the name for many of these pieces is Chinoiserie.
It also seems to me that as soon as you attach the word Chinoiserie (pronounced chi-noi-ser-ie) to anything, it automatically quadruples in price! Which is why my collecting has been very slow and strategic. I can’t be giving my husband ulcers over this stuff. 🙂
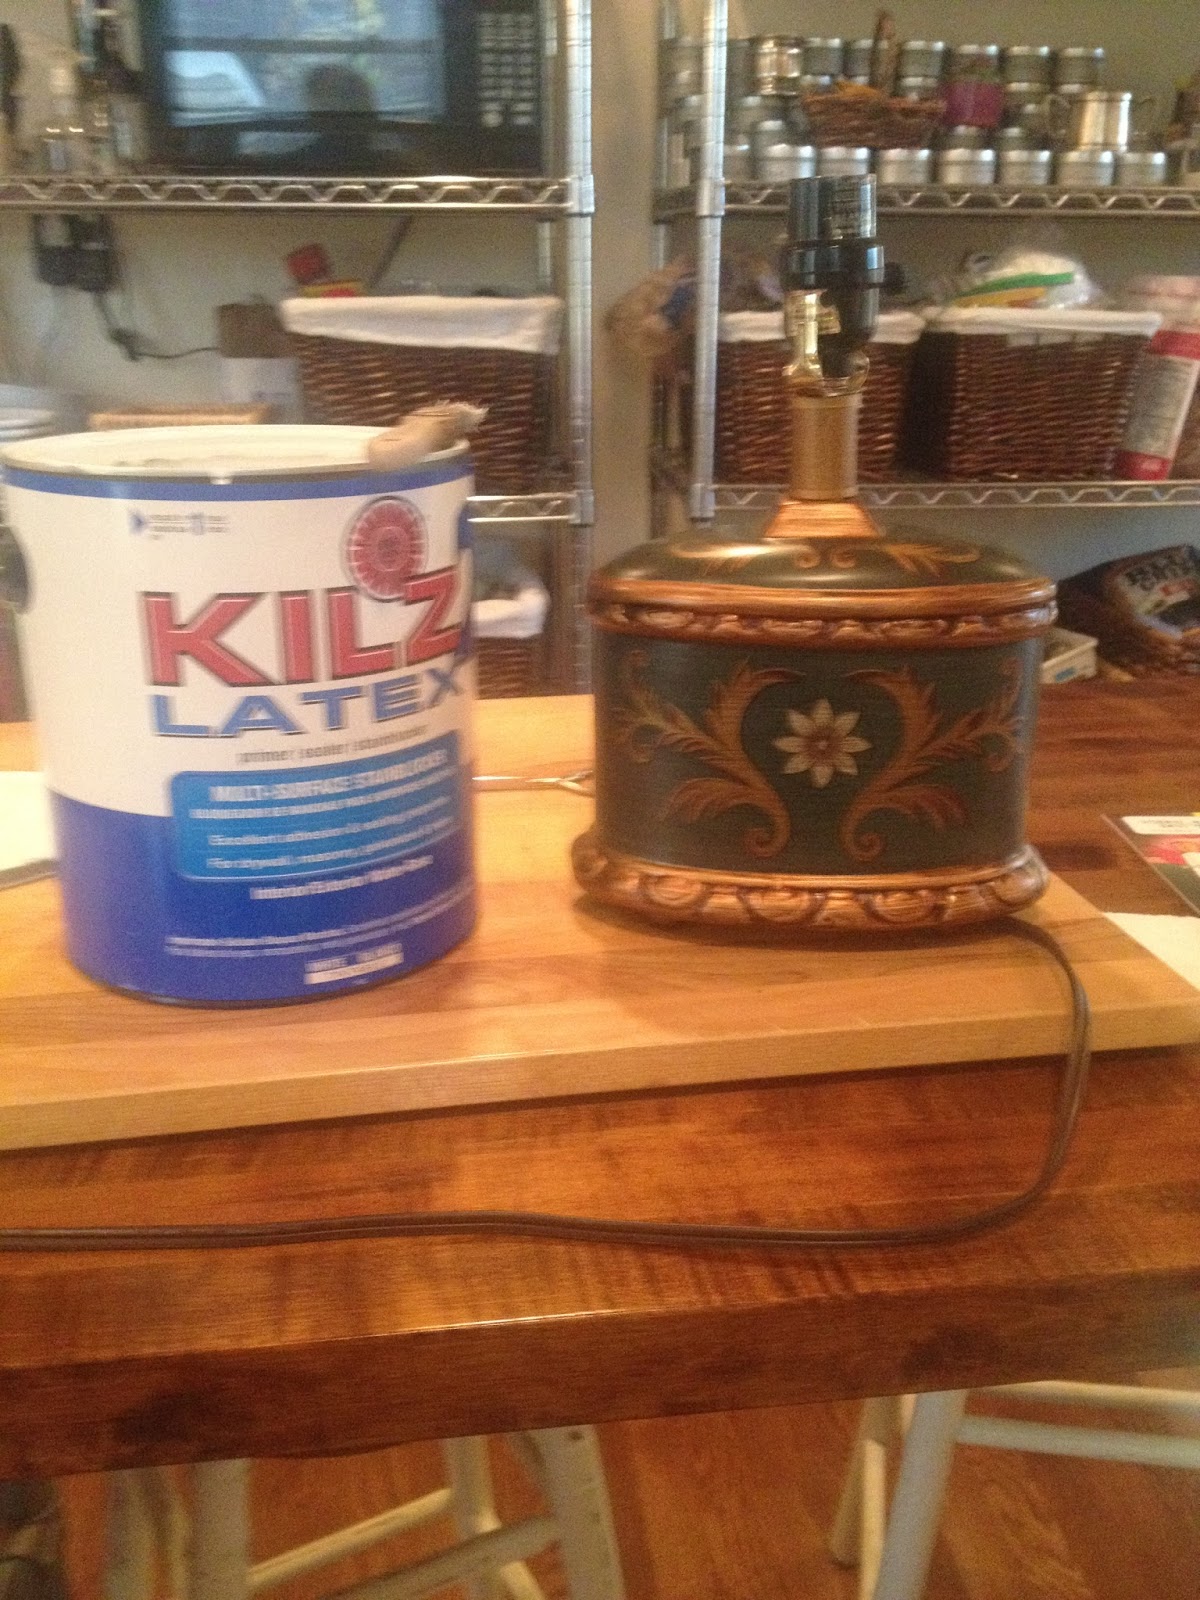
For awhile now I’ve been searching for a small Chinoiserie lamp to fit a quirky spot in our house. Until I find the perfect one, I’ve been using a rather ugly little lamp that just irritates me every time I look at it. Does that ever happen to you? It’s the perfect size and scale for the space but the more I stare at it, the uglier it gets! Here it is (sorry so blurry but you get the idea):
Then, suddenly…inspiration! While I’m waiting for the perfect antique yet inexpensive Chinoiserie blue and white lamp to fall into my lap (that happens, right?), why not use a few old and faithful friends to spruce up my existing lamp?
Mod Podge.
Scrapbook paper.
Rub-n-Buff.
Are you with me?
So first I needed some scrapbook paper or gift wrap in a classic blue and white pattern. Easy, right? I trekked all over town and all over the internet. Nothing. Seriously, I just needed a few sheets of this stuff and I figured the design trend was so hot right now, it’d be a cinch! Nope.
Finally, I stumbled upon this adorable Chinoiserie pumpkin done by Susan from Between Naps on the Porch.

She made this cutie herself after seeing something similar in Country Living and wrote a fabulous tutorial here. And you know where she got her scrapbook paper? A photocopier. Seriously!
So here’s the part that is just blowing my mind with the possibilities: a good color copier can print any pattern you want (assuming you’re not pirating it of course). Just take yourself to Kinkos or FedEx or wherever, bring an inspiration piece to be copied, like a flat piece of fabric, pages from a book, or (in my case), email them a PDF of a design you like. Then here’s the key: have them make a color photocopy using a digital laser printer (not ink jet, which I think is what most of us have in our basements!). A laser printer will make sure that the pretty colors on your paper won’t run when you start working with the Mod Podge. Also, I found that a slightly heavier weight paper was more like the weight of scrapbook paper and was great to work with (my FedEx Office guy called it 32 lb. weight).
I was able to find some beautiful digital scrapbook paper from a shop on Etsy (link here if you’d like it for yourself!), and for less than $5 I got an instant download of six .jpg files. Six gorgeous Chinoiserie prints to choose from! I converted them to PDFs (although I think it would have been just as easy to print as .jpgs), emailed them to my local shop, hustled myself over to pick them up and within 20 minutes I had these in my hot little hands:

So now back to my lamp.
First I gave it a quick coat of paint so nothing would bleed through. White paint over the parts to be covered with the paper. Gold paint for the parts where I was going to put Rub-n-Buff.
Next I applied the Rub-n-Buff (in Grecian Gold) and cut my scrapbook paper to fit. I glued it on with a few layers of Mod Podge (under the paper and two layers on top). Then…patience while the whole thing dried.
Hello lovely!
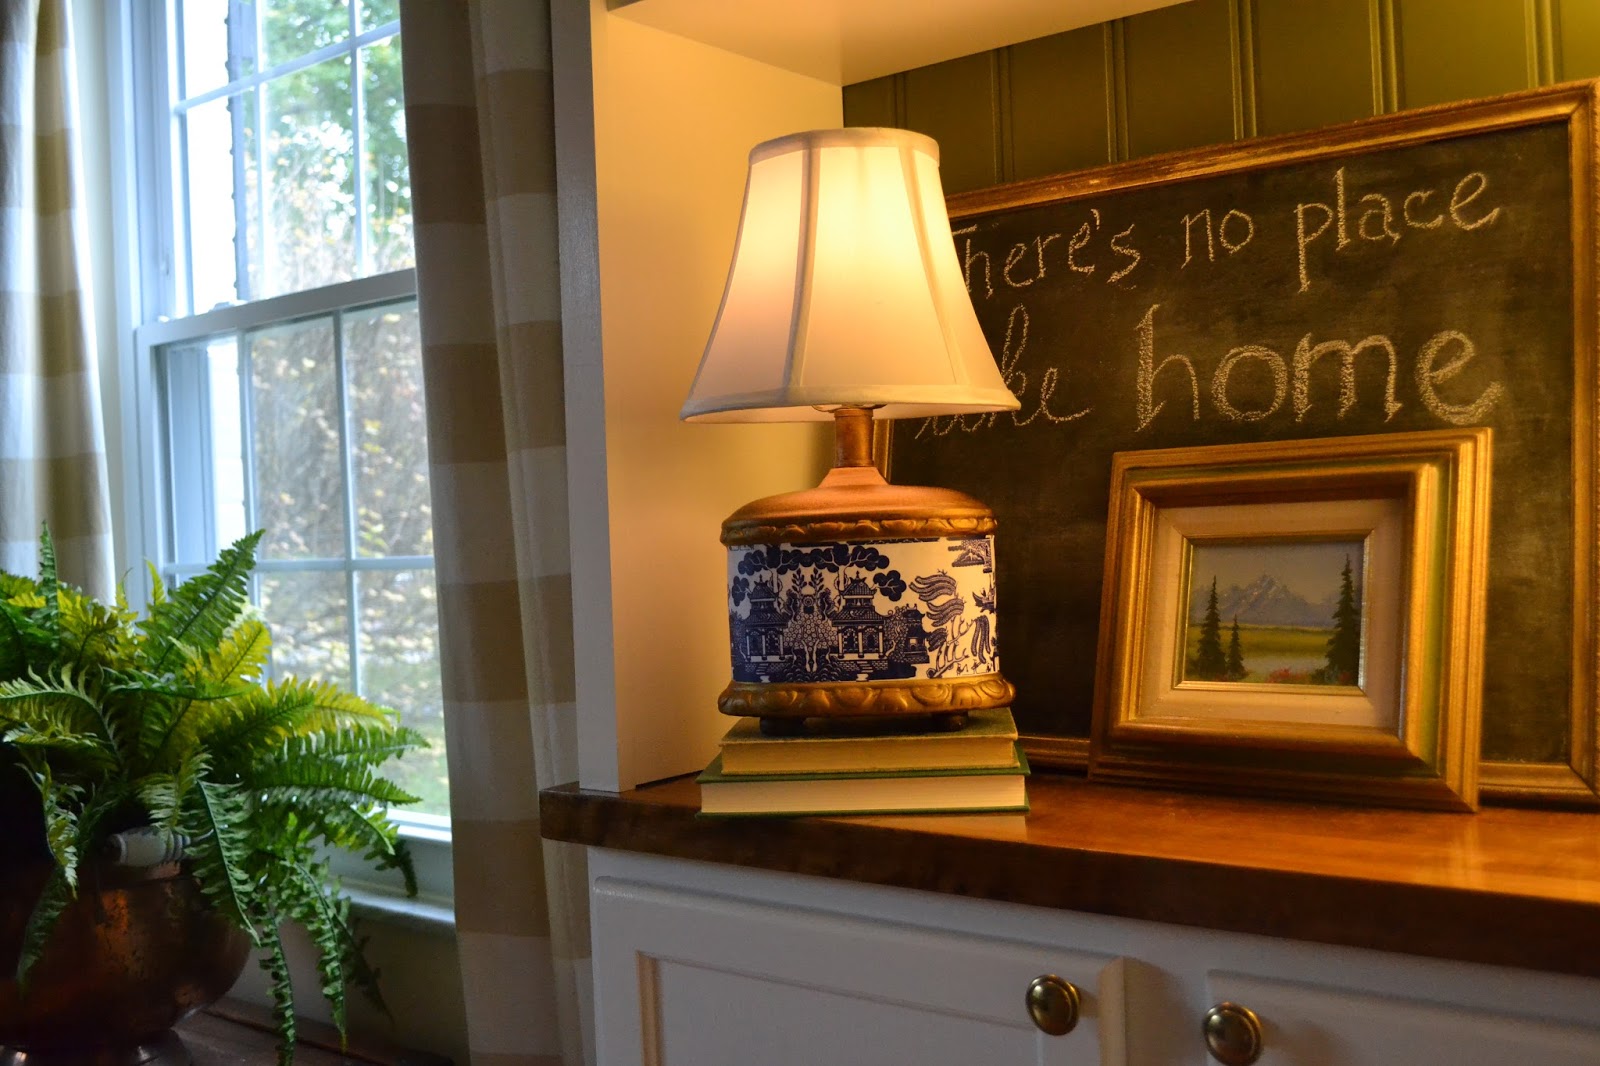
Let me zoom in just a bit.

Even I, the Queen of Mod Podge, am surprised at how well this turned out! I hoped for something that would just look better than it did before (not hard to do). But I really think I’d be drawn to this lamp if I saw it in a shop today, not just because I rescued it from ugly!
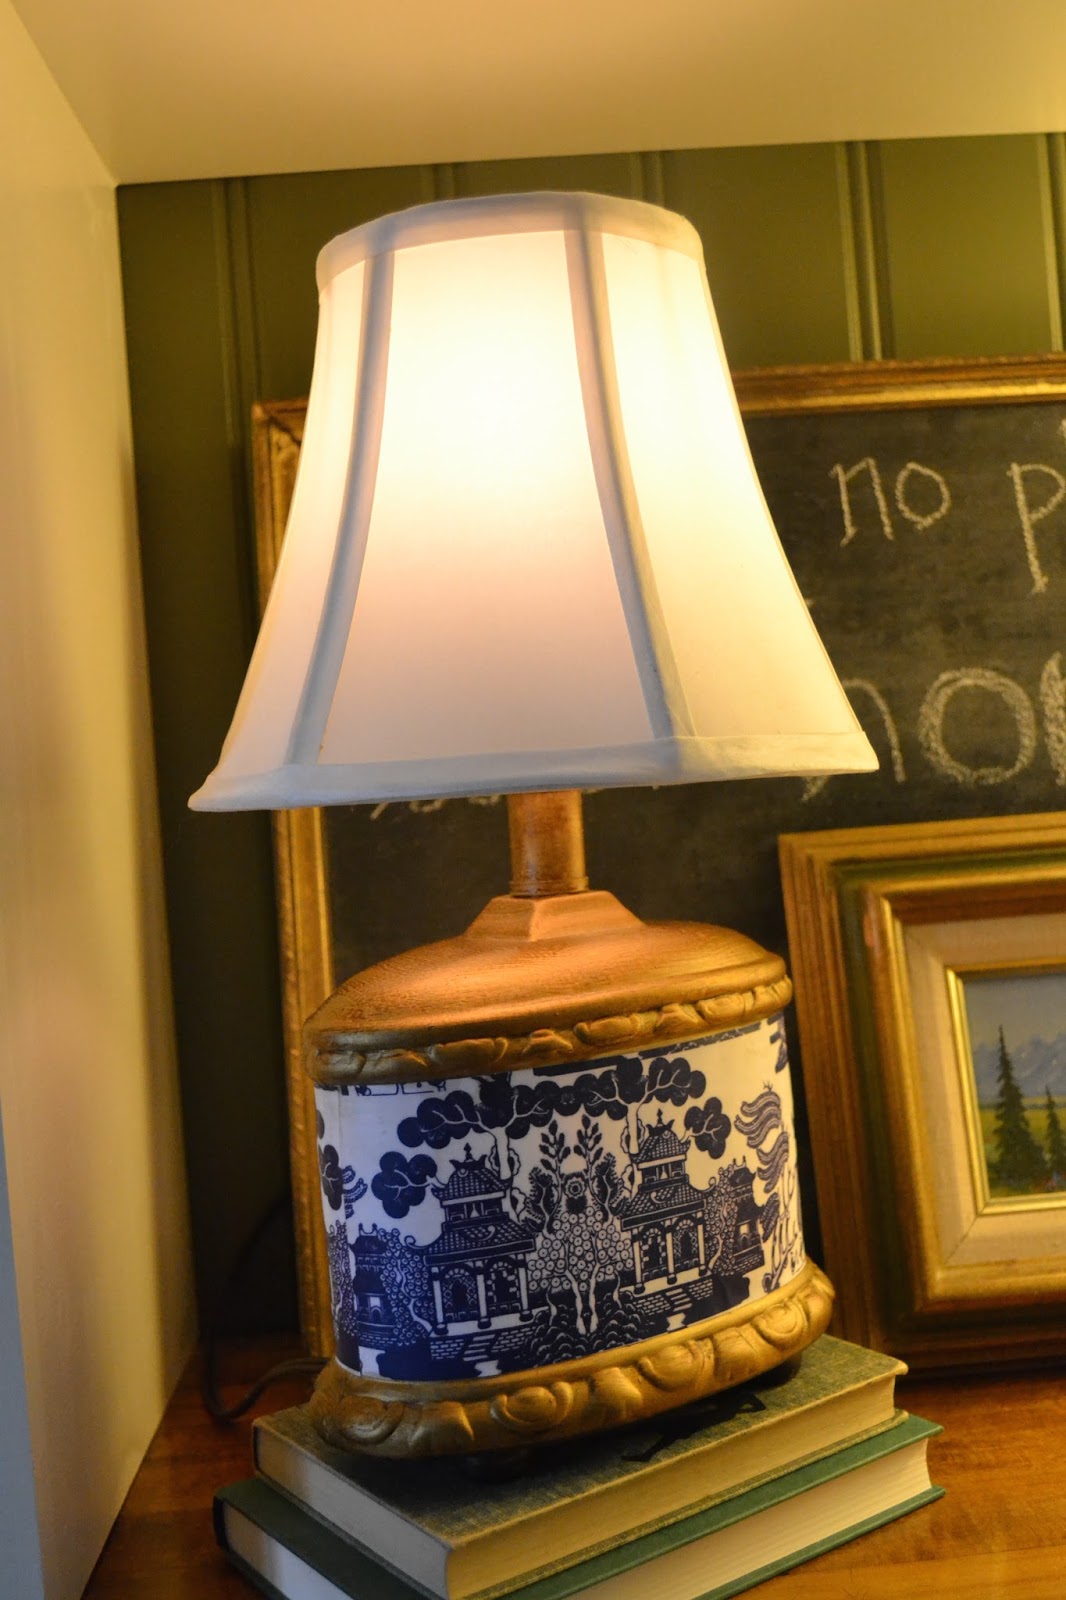
Even getting up very close, the colors are crisp and clean. No bleeding at all. I’m telling you. Laser printer. A revelation.

Who am I kidding? This discovery doesn’t mark the end of my Chinoiserie hunt. The thrill of the chase, right? Ha! But it’s a fun and inexpensive way to copy a look that I know many of us love.
Have a great weekend!

Visit FreeRealtyOnline.com to list your home for sale by owner!
Beautiful DIY Pottery Barn Inspired Mirror!

I’ve loved this Pottery Barn mirror for years but at $699 it’s overpriced and the wrong color. There are numerous tutorials to DIY your own mirror but they seemed a little too complicated aka they had math involved and I don’t have the patience for measurements. I also have an irrational fear that I might lob off a finger messing around with a circular saw so those tutorials weren’t for me. Nope, definitely not for me, I love my fingers.
Then, I saw this tutorial using Dollar Store mirrors and I figured, why not try it? Even if it was a epic fail I wouldn’t blow a lot of money.
I didn’t follow all the instructions in the link above because I wanted a much bigger mirror and needed a more sturdy and stable backing.
I started with 25 of these mirrors from the dollar store. They’re really cheap looking with a plastic frame and they come in black, brown and I believe red.

I painted the frames with Martha Stewart gold craft paint

Since the mirror would have some weight to it and I wanted to hang it, I purchased this kit from Michaels for less than $5 to use.

I also purchased a sheet of 5 MM plywood and had it cut the Home Depot for $15. (no circular saw for me). I screwed the hanging hook into wood on either side and I did pull my level out to make sure they lined up together. The piece of plywood I used measured 43 x 54 3/8.

I made sure the mirrors hung over wood by about 1/4 of the inch on all sides and just lined them up by eye balling them and glued them down using E-6000.

Here’s the final product. Isn’t it pretty? I only had one mishap when I pressed down too hard on one of the mirrors over the hanging screws and it broke so be careful when pressing down over that area if you are going to try this project. Other than that mishap, it was an easy, peasy project than gives a great impact.

Here’s a sneak peak of how it looks in my room. I’m finally on track to finish the room after a gazillion years. Yeahhh!!!
Linking this to Thrifty Decor Chick
Visit FreeRealtyOnline.com to list your home for sale by owner!
Beautiful DIY Dip-Dyed Vase!

Dip dyed anything is still going strong and decided I’d join the party and try it myself.
Today I’m sharing a super easy DIY brought to you by Glidden® paint.
By partially painting, it’s a great way to give an existing vase or vessel an extra layer of depth and more interest. I wanted to go bold and went with Glidden paint – onyx black, a perfect contrast against the antique brass color of the vase.

things you need: any existing vase or vessel, Glidden paint, pencil, paint brush, ruler, tape.
Step one: with pencil and ruler, mark how high you’d like your paint line to go. Make mark with pencil and repeat all around.

Step two: use tape to connect each pencil mark.
Step three: with paint brush, paint entire portion below the tape line.
Step four: wait at least an hour to dry before applying another coat of Glidden paint.
Step five: peel tape and fill with pretty flowers.

I’m not much of a DIY-er but Glidden paint made it super easy to take some inspiration and create something on trend, a quick dramatic difference for something I already had.
Plus, with their simplified palette, I wasn’t overwhelmed by the plethora of color options which made my decision less time consuming.
disclosure: this post was sponsored by Glidden paint through their partnership with POPSUGAR select.
While I was compensated to write a post about Glidden paint, all opinions are my own.
Happy Monday!
The post DIY with Glidden Paint appeared first on designstiles.
Visit FreeRealtyOnline.com to list your home for sale by owner!
Luxe for Less DIY – Pottery Barn Mirror

I’ve loved this Pottery Barn mirror for years but at $699 it’s overpriced and the wrong color. There are numerous tutorials to DIY your own mirror but they seemed a little too complicated aka they had math involved and I don’t have the patience for measurements. I also have an irrational fear that I might lob off a finger messing around with a circular saw so those tutorials weren’t for me. Nope, definitely not for me, I love my fingers.
Then, I saw this tutorial using Dollar Store mirrors and I figured, why not try it? Even if it was a epic fail I wouldn’t blow a lot of money.
I didn’t follow all the instructions in the link above because I wanted a much bigger mirror and needed a more sturdy and stable backing.
I started with 25 of these mirrors from the dollar store. They’re really cheap looking with a plastic frame and they come in black, brown and I believe red.
I painted the frames with Martha Stewart gold craft paint
Since the mirror would have some weight to it and I wanted to hang it, I purchased this kit from Michaels for less than $5 to use.
I also purchased a sheet of 5 MM plywood and had it cut the Home Depot for $15. (no circular saw for me). I screwed the hanging hook into wood on either side and I did pull my level out to make sure they lined up together. The piece of plywood I used measured 43 x 54 3/8.
I made sure the mirrors hung over wood by about 1/4 of the inch on all sides and just lined them up by eye balling them and glued them down using E-6000.
Here’s the final product. Isn’t it pretty? I only had one mishap when I pressed down too hard on one of the mirrors over the hanging screws and it broke so be careful when pressing down over that area if you are going to try this project. Other than that mishap, it was an easy, peasy project than gives a great impact.
Here’s a sneak peak of how it looks in my room. I’m finally on track to finish the room after a gazillion years. Yeahhh!!!
Linking this to Thrifty Decor Chick
Visit FreeRealtyOnline.com to list your home for sale by owner!
Lovett Kitchen Reno

We’re getting close to a kitchen renovation. Haaaallelujah. Hallelujah. Hallelujah. I’ve been patiently waiting for this since we moved in.
I’m not trying to do anything groundbreaking here. I just want some classic updates that will make the kitchen feel brighter and less dated. Less sad, basically. We lack serious counter space, so they’ll be some tweaks with the layout that will hopefully not be too costly. This isn’t our forever house so we don’t want to install too many high-end materials but just want something fresh and new.
And with the amount of cooking TH does, this is sure to be a great investment.
Here are some kitchens I’m inspired by.
.
I love the look of an open floor plan. I was thinking of partially knocking down the wall that adjoins the dining room to allow for that open, brighter feel.

I like the idea of a shelf designated just for cookbooks.

I thought the painted glass cabinet trim was a creative way to add just a small amount of color and depth.

butcher block countertops add durability and organic feel.

subway tile is a bit of a no-brainer. I’m leaning towards dark grout to coordinate with our existing slate floor tile.
And just because I’m hoping to get the ball rolling on this, I’ve already rounded up some items.

light fixture // subway tile // faucet // sink // hardware // butcher block // runner
I’m ready to demo!
The post Lovett Kitchen Reno appeared first on designstiles.
Visit FreeRealtyOnline.com to list your home for sale by owner!
Create Your Dream Closet

If your closet looks anything like mine (and I sure hope I’m not alone in this!), it needs some serious re-organizing! It’s funny how just a simple closet can be such a big deal for us. We may not all have a huge walk-in dream closet, but we all can turn our closets into somewhat…